Properly Torqued: Measuring Connecting Rod Bolt Stretch

Did you know that some of the most stressed components in any race engine are the connecting rod bolts? When you’re spinning that high-revving small block to 8500 RPM, the engine is going through 140+ cycles per second. This means that those tiny fasteners are trying to keep the cap from slinging off the end of the connecting rod, at incredibly high speeds and pressures, and doing so repeatedly for hours. Now, with that in mind, wouldn’t it make sense to take the extra time to make sure those rod bolts are within spec and able to keep your rotating assembly in one piece? Today, let’s discuss what bolt stretch is, why you should prefer it to a traditional torque spec, and then guide you through the measuring process.
What is Bolt Stretch?
Simply put, it is the amount of length, that a bolt stretches when a load is applied. We can think of a bolt fastener as a coil spring, if you squeeze and stretch that spring within its normal limits, it can do so over and over again without issue. If we torque a bolt past its yield point, it will overstretch and fail (just like a spring stretched too far won’t return to its normal state). Bolt manufacturers like ARP know these limits and we provide that information with every rod bolt set that leaves Boostline’s facility.
Boostline Provides Recommended Torque Specs, So Why Measure Stretch?

If you’re looking at the information provided with your ARP 2000 Connecting Rod bolts, you’ll see a recommended torque spec. But, we just said that isn’t the best method, so why include it? Simply put, not all torque wrenches are created equal. My Pittsburgh may not read the same as your Craftsman, so we use the torque spec in tandem with a rod bolt stretch gauge to verify we are torquing these bolts correctly.
Let’s say we have a recommended torque spec of 45 ft. lbs, and for that given amount of torque, ARP may expect a bolt stretch of .0055”-.0060”. By using the stretch gauge, we can put a load on the bolt that is just under our target, (for example, 35 ft. lbs), and see if the bolt is stretching just under that minimum amount (< .0055”). Once we verify that our bolt stretch is just under the minimum, we can tighten it further to get it within spec. From that point forward, we will know the correct setting on our torque wrench for the remainder of the fasteners.
An under-stretched rod bolt can back off and unfasten itself later down the road, killing an engine immediately. Just being 5-10 ft/lbs under-stretched is enough to cause a potential failure once the engine is operational.
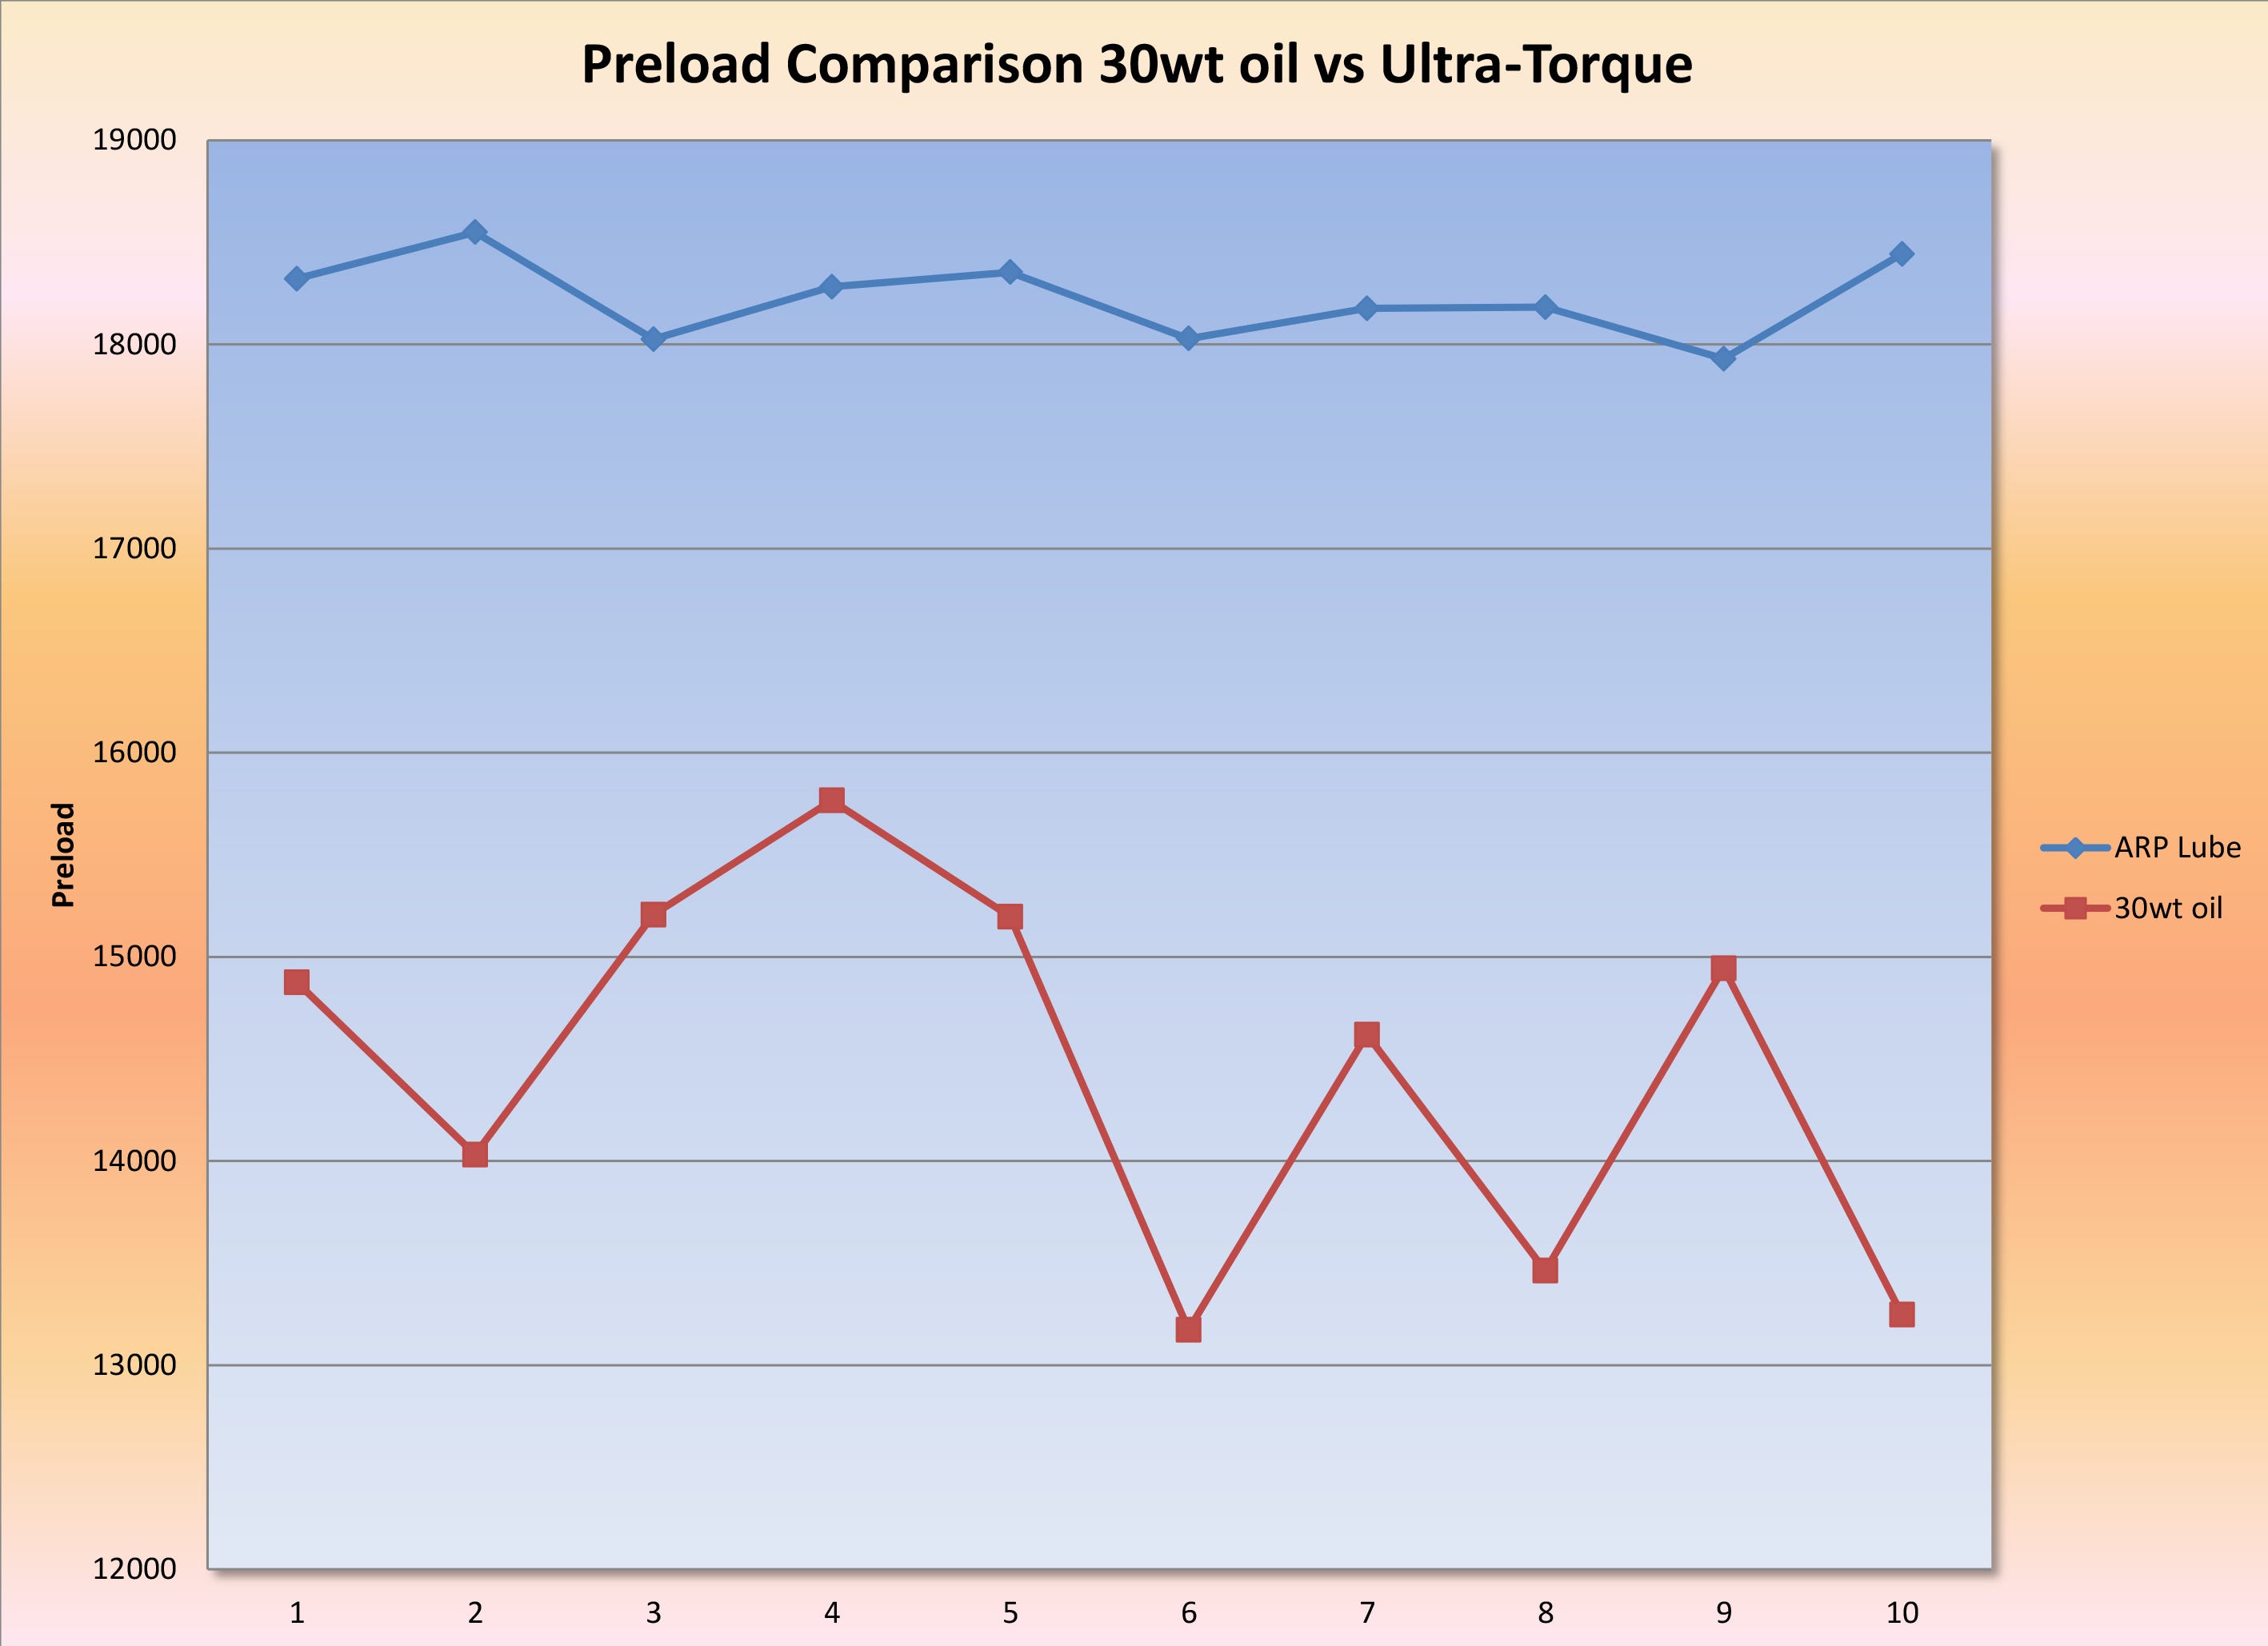
Another reason to prefer the “stretch method” is that the assembly lube used during the torquing process can greatly affect the force applied. For years, you may have seen someone using engine oil as a lubricant during assembly. While it does a great job during that initial torque pass, it will eventually begin to break down and your initial pre-load will lessen.

Engine Labs and ARP have a great graph on this comparing ARP’s Ultra-Torque assembly lube to conventional 30W engine oil. If you look at the red line, you’ll notice that the pre-load began fluctuating as torque was re-applied. The more often it was applied, the worse it became. If we had only our torque wrench to measure force, we would never be able to see that these fasteners were beginning to loosen as we continued to apply the same torque. This is a great example of when a stretch gauge would have caught the issue.
How do we Measure it?

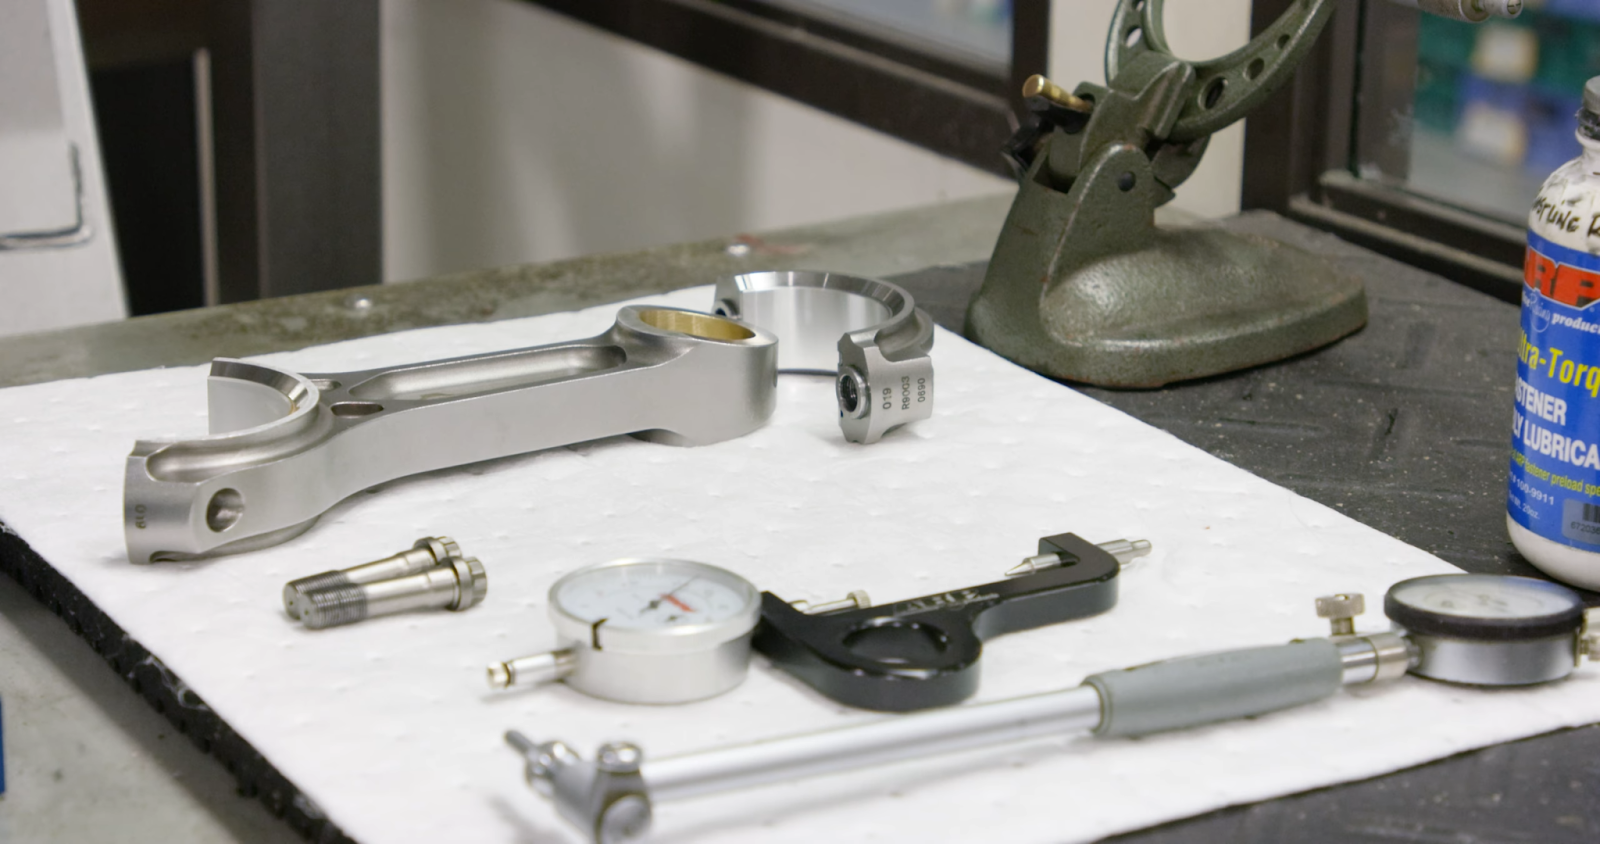
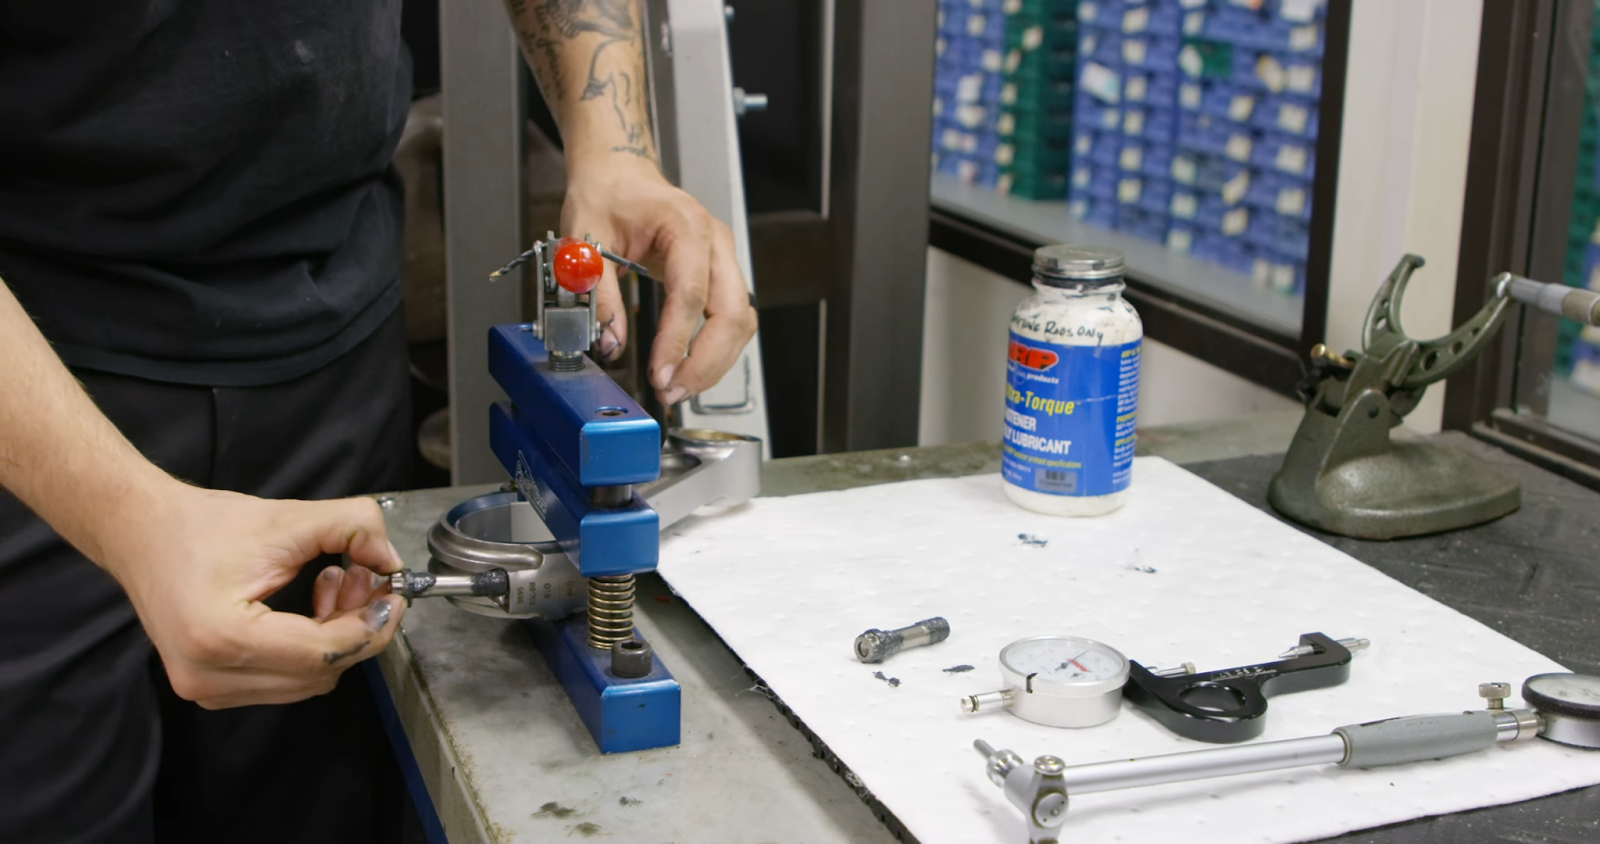
First, secure yourself a rod bolt stretch gauge like this one offered from ARP. In this example, we use a rod vise because it’s easier to photograph, The same steps apply when stretching inside of the engine, but you can pre-stretch all bolts on a rod vise before final assembly for more accuracy and room to work.
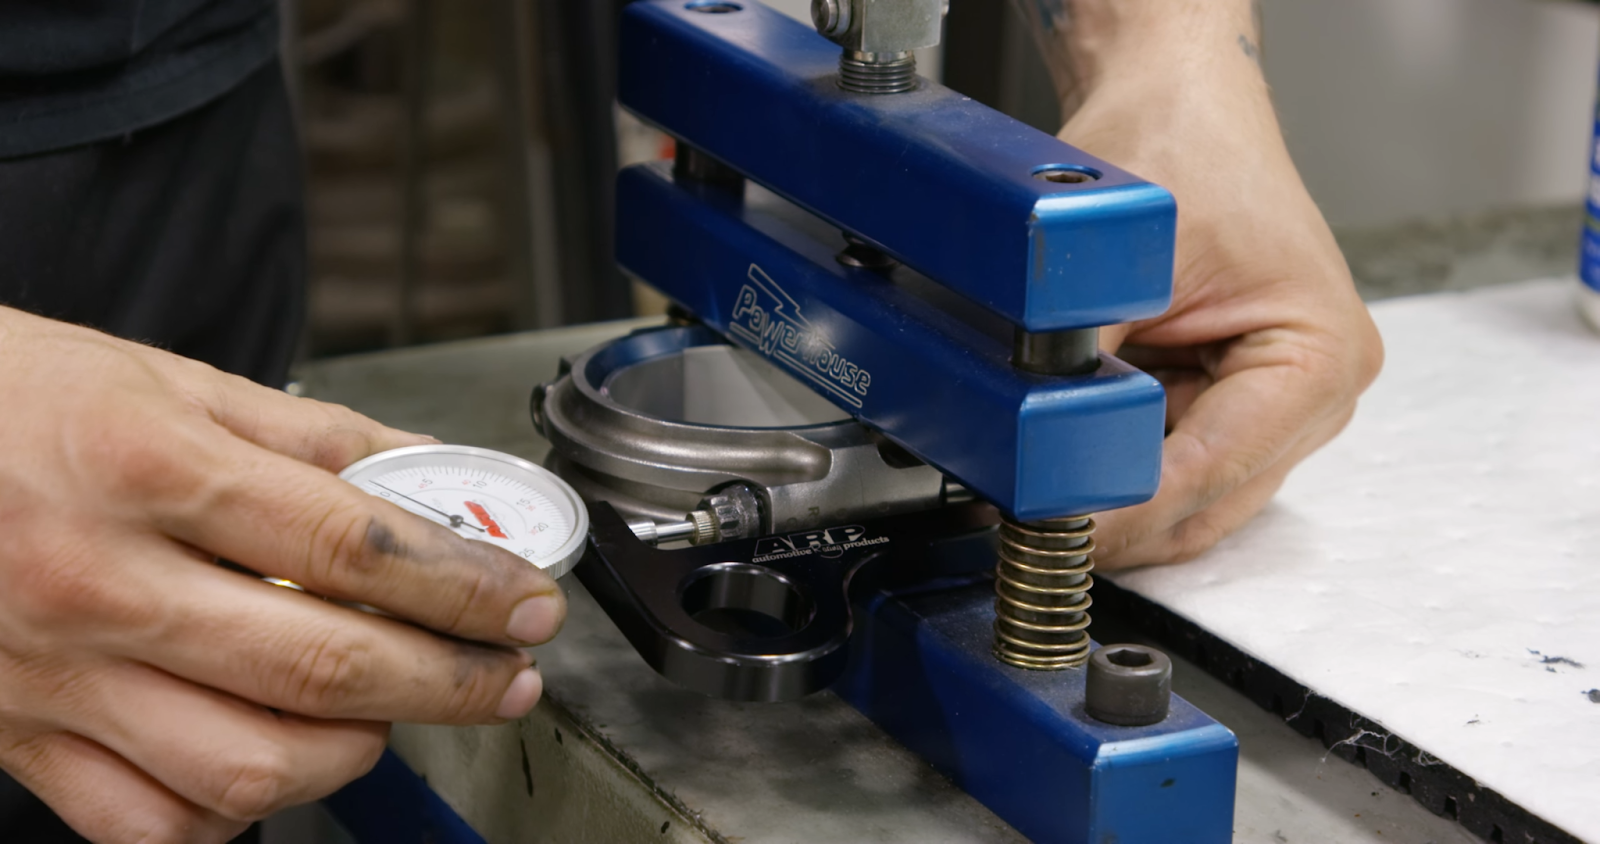
Apply the supplied/recommended assembly lube to the threads and underside of the head of your rod bolt. Insert your rod bolt into the rod end, screwing it in by hand until seated in a relaxed state (meaning no torque was applied yet). Place the stretch gauge onto the rod bolt, making sure it rests inside the dimples on the head and bottom of each bolt.

Reset your stretch gauge, “zeroing” it out by locking in the face at the zero mark when the bolt is at rest. Set your torque wrench to just below the recommended torque setting. Apply that torque, and then re-insert the stretch gauge.
Measure this new stretch amount, to see if it’s within the recommended minimum for your fastener. If it is not, adjust your torque wrench and tighten the bolt further. Continue to do this until you are within the measured spec.
It is recommended to reset and use this procedure for every rod bolt fastener, but some may choose to save time and apply the newly found torque wrench setting for a recommended stretch on the remaining bolts.
Don’t be surprised if your torque wrench is off by 5-10 ft. lbs, this is common in older “clicker” type wrenches that have been left on a tight setting for extended periods of time. The internal spring can be stressed and lose accuracy. We always recommend backing off your setting to a lighter weight before stowing it away for later use.
Also, if you’re more of a visual learner, be sure to check out the video below where we assemble a Cummins 6BT. This not only covers the rod bolt stretching procedure but also installing the piston and wrist pin before inserting them into the engine for final assembly.